Do you want to boost your go kart’s performance and protect vital components?
Look no further than installing a heat shield.
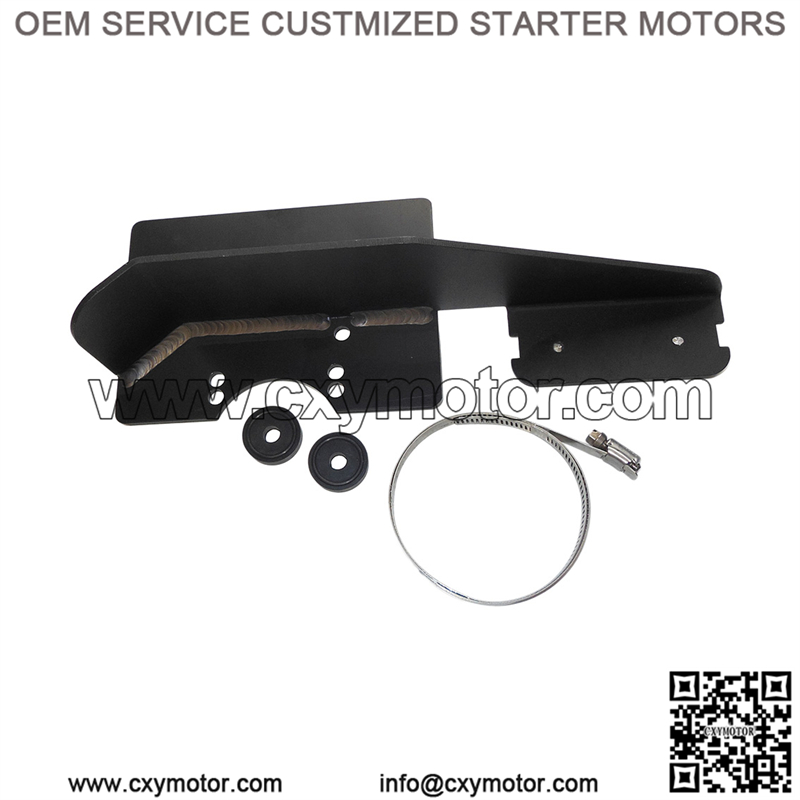
A go kart heat shield is a crucial accessory that safeguards the engine from excessive heat.
Here’s a simple step-by-step guide to help you install a go kart heat shield effortlessly.
Begin by gathering the necessary tools: a heat shield kit, mounting brackets, bolts, and a wrench.
Clean the area where the heat shield will be installed to ensure a secure fit.
Position the heat shield so that it covers the engine exhaust and surrounding components fully.
Attach the heat shield using the provided mounting brackets and secure it tightly with bolts.
Double-check the heat shield’s positioning to ensure proper coverage and clearance from moving parts.
Tighten all bolts securely, taking care not to overtighten and cause any damage.
Start the go kart and let it run for a few minutes to ensure the heat shield doesn’t interfere with engine performance.
Conduct a final inspection to verify that the heat shield is securely attached and positioned correctly.
Test drive the go kart, paying attention to any changes in engine temperature and overall performance.
Be sure to regularly inspect the heat shield for any signs of wear or loosening, tightening bolts as needed.
Installing a go kart heat shield is a simple yet effective way to enhance performance and protect crucial engine components.
By following these steps, you can enjoy worry-free go karting with improved heat management. Upgrade your go kart today!
“Keyword”
“go kart heat shield”
“go kart head sock”
“go kart hot box”
“do exhaust heat shields work”
“5 heat shield”