How to replace a faulty golf cart voltage regulator?
1.Open the battery hatch cover that is usually located below the front hood or under the golf cart seat.
2.Loosen and remove the negative cable of the battery that is connected to the battery charger directly.
Use a wrench for disconnecting the cables.
3.Remove the negative cables of all other batteries as well, in the same way.
4.Now remove all the positive cables from the batteries.
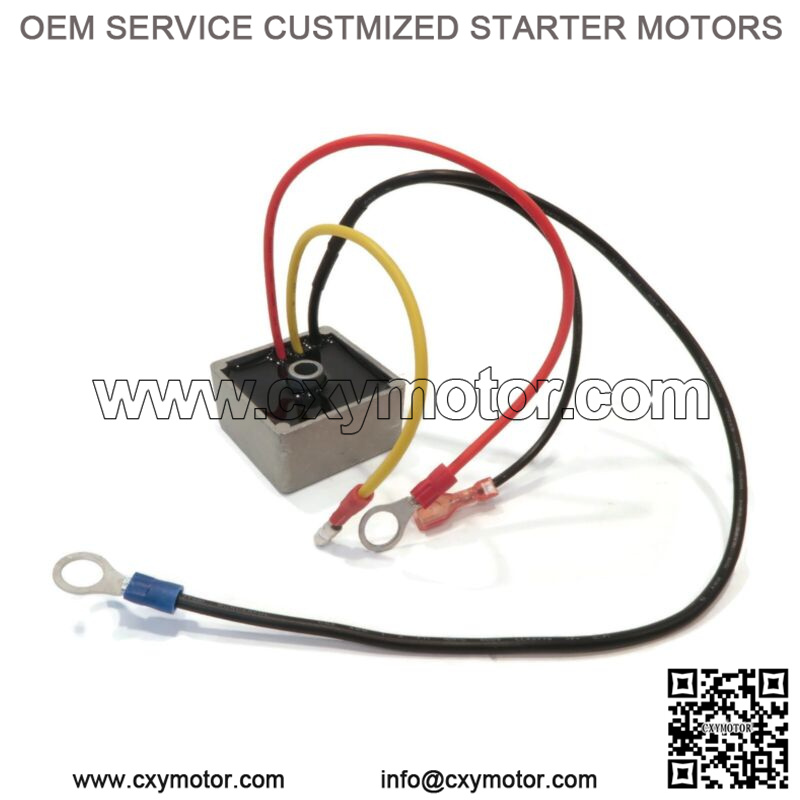
5.Disconnect the voltage regulator from the battery so that it can be removed.
In some cases, the regulator may be bolted or latched on to the golf cart.
Use the appropriate tool and disconnect it.
6.Put the new voltage regulator in place and fix the bolts or latches in place.
7.Connect a voltmeter to the poles of the battery and start the engine of the golf cart. Make sure that there is no spin.
The voltage should typically be 12.6 volts.
8.Raise the speed of the golf cart engine. The voltage will also increase accordingly until the speed is nearly 1,000RPM.
After this, the voltage remains steady at 13 volts with a +/-0.5 volts difference.
9.Check the electrolyte levels in each battery and top up to the required level using distilled water if needed.
“Keyword”
“gas golf cart voltage regulator”
“club car ds voltage regulator wiring”
“gas club car voltage regulator location”
“club car ds voltage regulator location”
“yamaha g9 voltage regulator”
“yamaha g2 voltage regulator”